Just a quick post to share some results from my latest pottery experiment in my little gas kiln…
I have wanted a wood-burning kiln for years, in order to get the runny, natural ash effects that I really love.
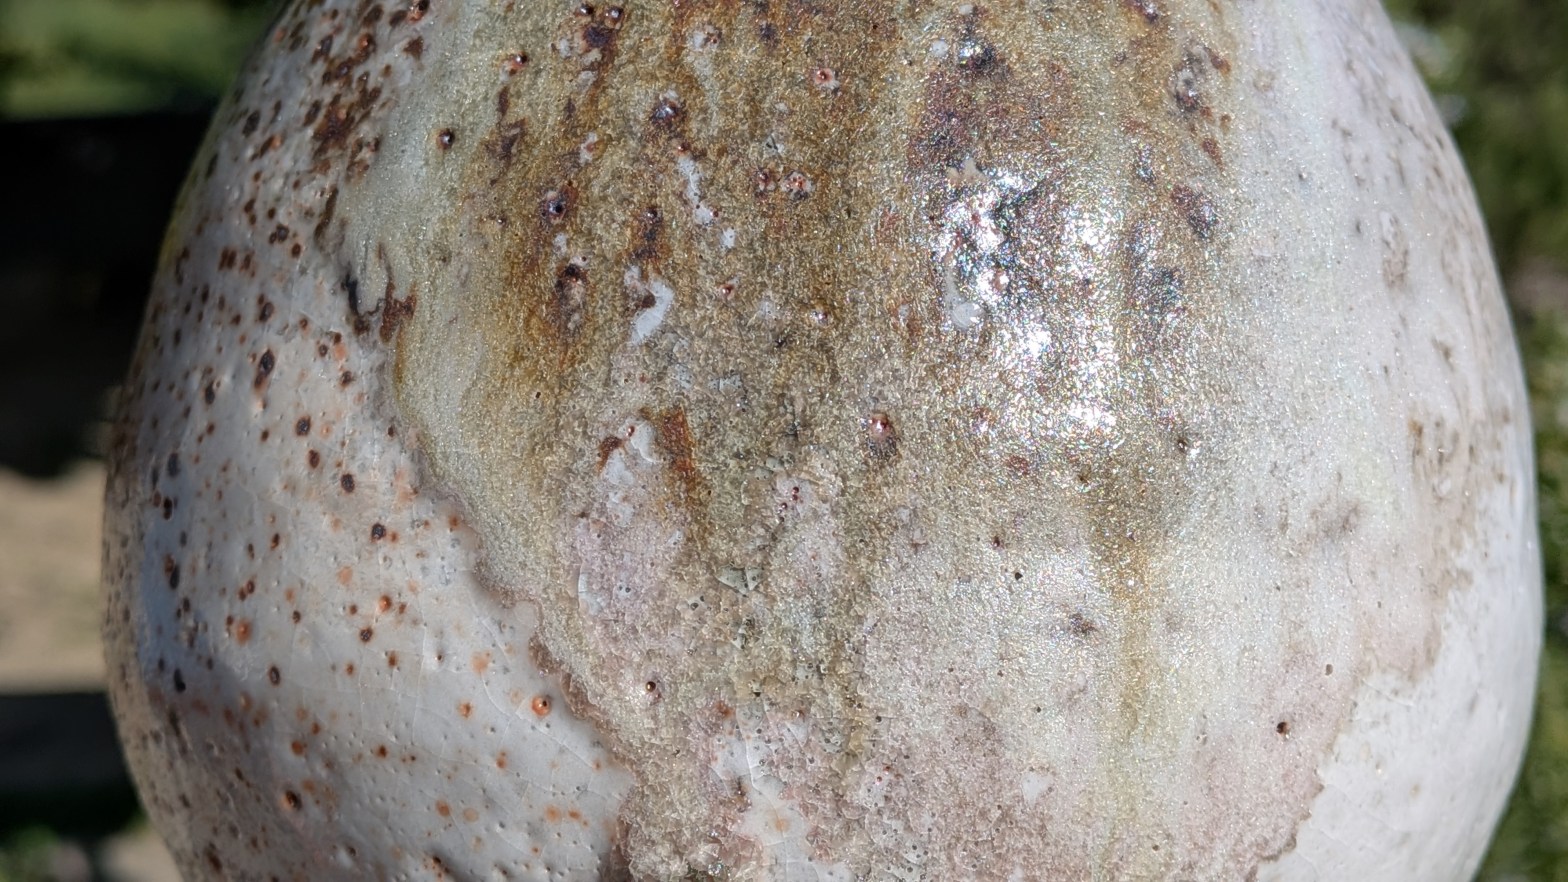
If you don’t know, in a long, hot wood firing, the ashes from the burning logs rain down on the pots, melt into a glaze, and form green/brown/gold layers and long drips down the pots, often with crystals if slow cooled.
Where I live, though, I have close neighbours with young children and I don’t feel I can be pumping out smoke for a day or more 8 metres from their windows.
I have seen potters like Lisa Hammond and David Hooker who sprinkle ash over shino glazes and fire the pots in gas reduction (Lisa soda fires too, for more interesting results). They do get some great effects that look very ‘wood-fired’.
I have previously sprayed ash glaze over shino and felt the results were pretty yucky.
So last week, I tried pure dry wood ash. On two bottles that I’d glazed with two different shinos, I heavily sifted mixed hardwood ash over the top. Sorry, I forgot to take photos. But you want a good few millimetres.
David Hooker applies the ash when the glaze is wet, so it will adhere. I had let mine dry, so I moistened the bottles with a spray of soda ash solution and then sprinkled on the ash through a metal sieve.
It actually stuck well and the ash didn’t fall off when the pots were moved. One has to be careful when handling them not to rub off the ash.
So, on to the results. I placed the two pots in the hottest part of my kiln (hits cone 10-11) and fired in reduction: heavy initially and then light till the cones were down, with a little heavy reduction soak for the last 15 minutes.
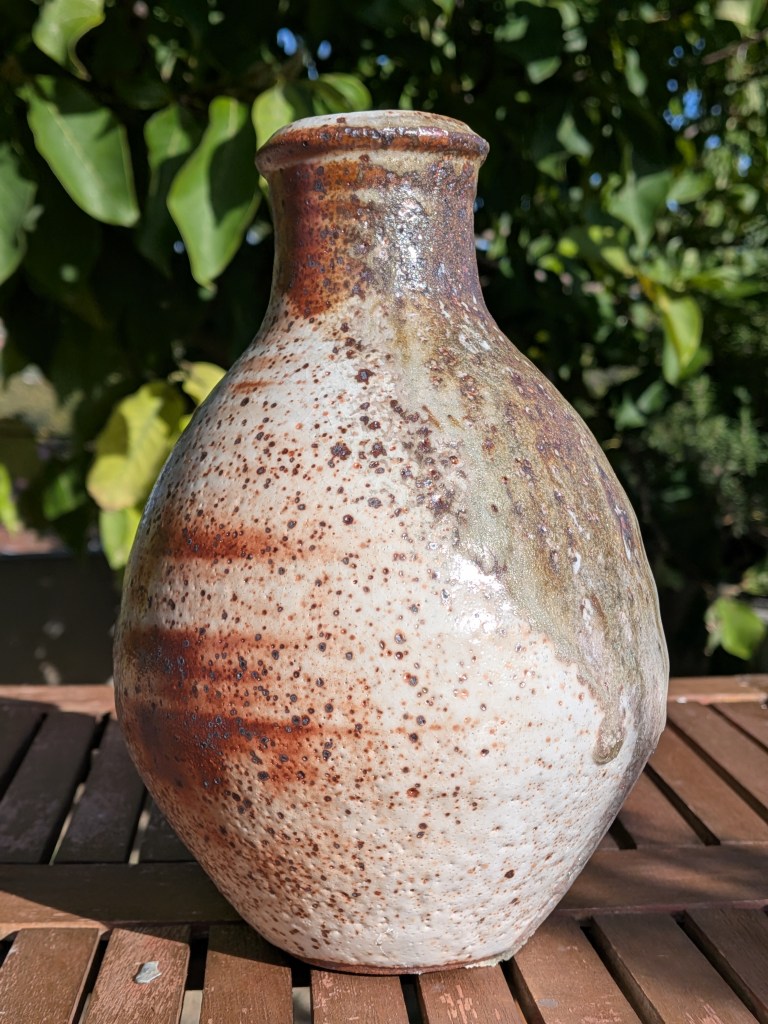
The final effects were, I would say, very like you’d achieve in a wood firing. Thick ash zones with runs down the pot. I think one would get a more interesting look to fire the pots on their sides, having put the ash on the top side, so the ash runs would go around the pot. I will this try next time.
It’s worth putting the pots on stilts, shells or wadding as the ash runs may drop off the foot of the pot.
I used two types of clay: a groggy black one and a red-brown stoneware. The ash came out much darker on the black clay pot, and more of the green I expected on the red clay one. But the shino recipes were different, and the darker aka shino was a bit thinner than the other formula (Al’s shino), so it’s hard to say what caused the difference. A combination of these factors, I’d guess.

Overall, I am pretty happy with the pots that arose from this new-for-me technique.
What you won’t get in the gas kiln compared to a wood kiln is much/any of the flashing effects on exposed clay. Using different types of ash will likely also change the look of your results. I would love the glassy, bottle green runs some potters get – I think pine wood might give that result.
Next, I plan to side-fire some on shells. I am also thinking about trying this with no glaze on the pot and light sprinkles of ash to get something of a Bizen-style effect. Maybe combined with strands of natural twine soaked in soda ash tied around the pot to give extra decorative flashing effects.
Hopefully these tests will inspire some more posts…
