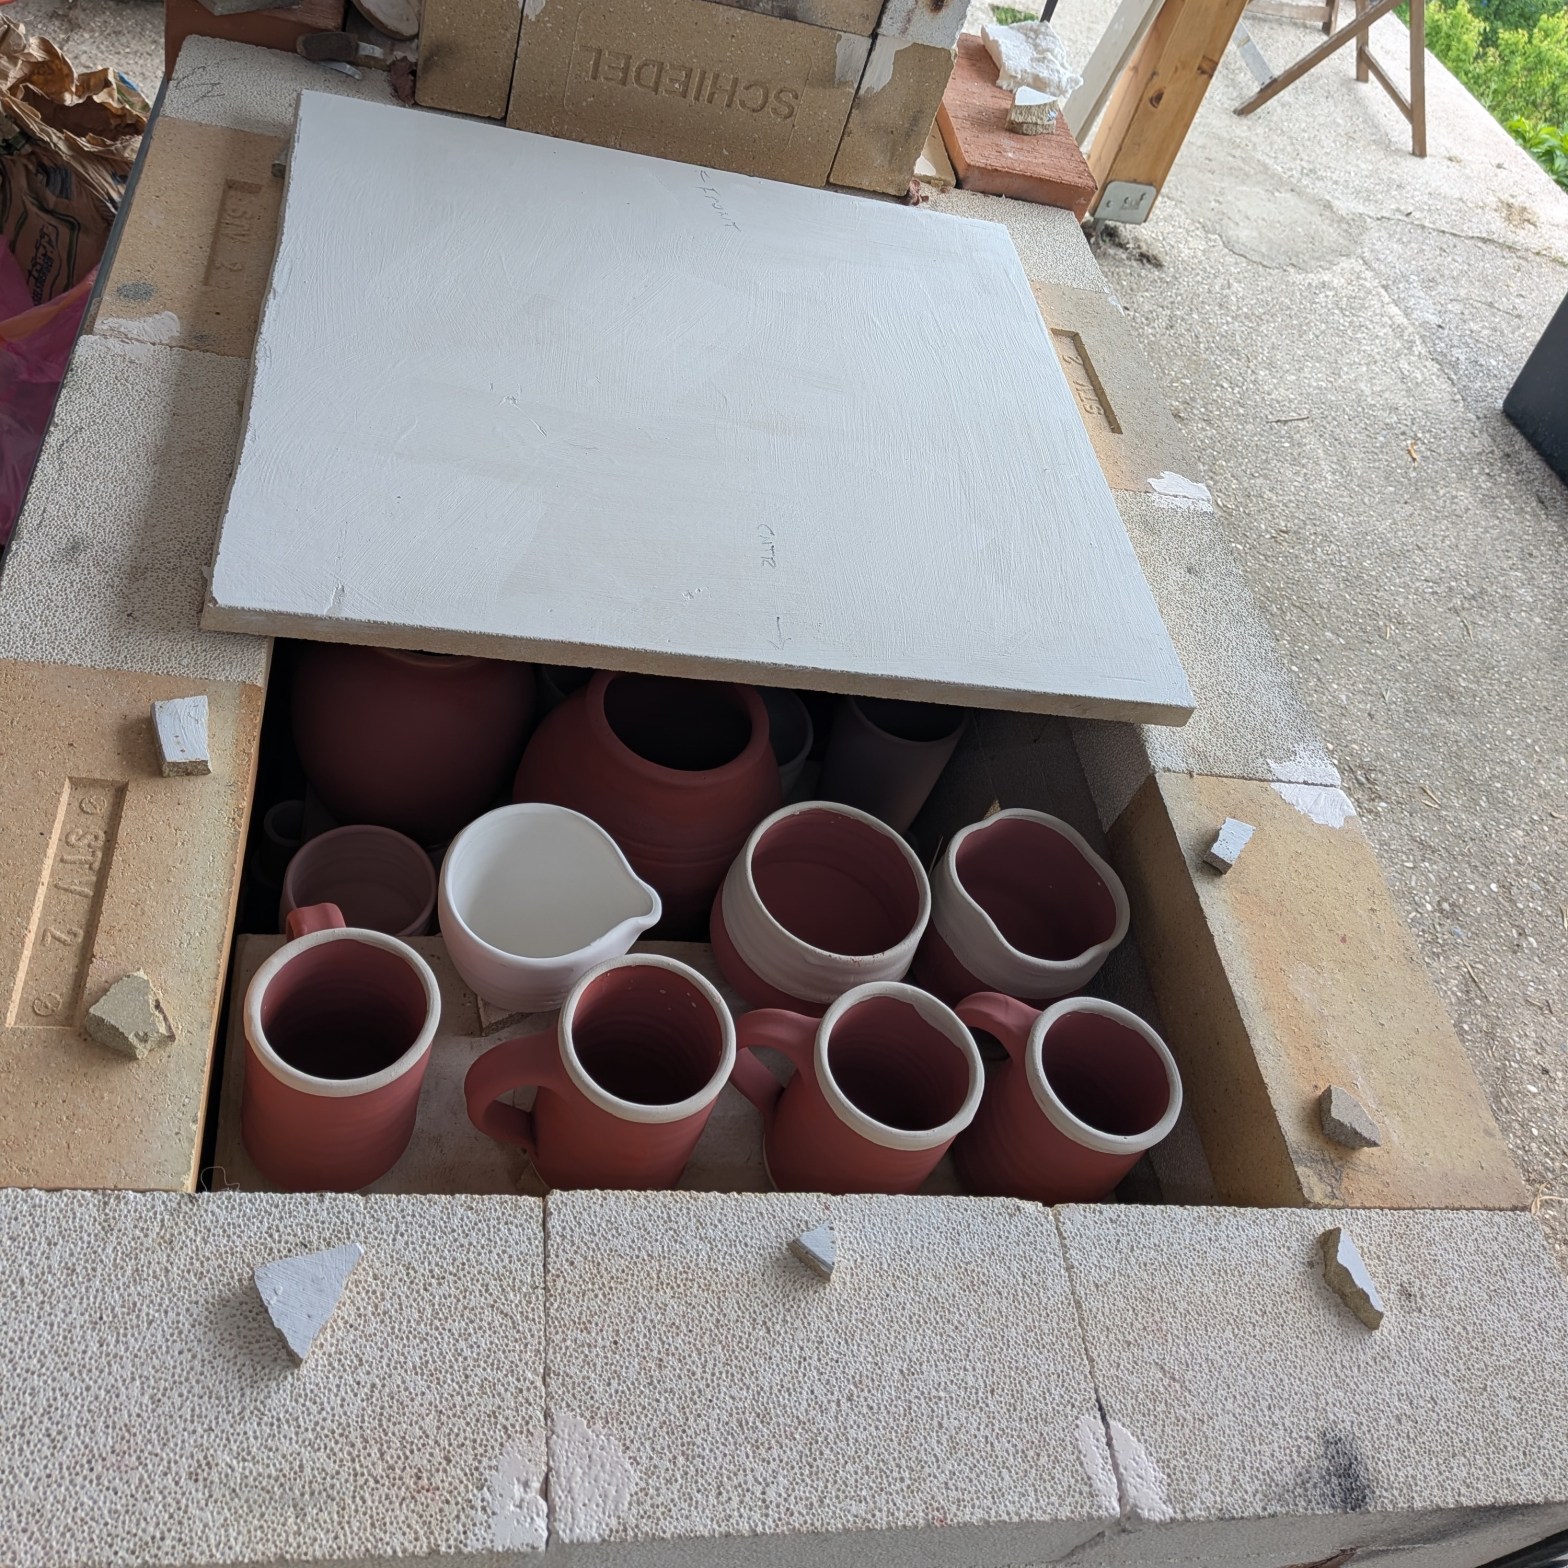
So, the compressed fibre board lid of my kin has died. I got nearly two years of fairly light use out of it. But with every firing since the start, the board has been cracking and falling into pieces.
I did my best to handle it carefully to prolong its life, but it is very fragile when supporting its own weight. Now it is a pile of large and small fragments that will not support themselves over the kiln.
Fibre board is really effective as an insulator, yet obviously isn’t the best thing for a lid that will be moved frequently. It would be better used as lining where it is static and any cracking won’t be so much of an issue.
Potter Iain Shield (who designed this style of kiln) did make a fibre board lid held within a steel frame (see this Instagram post) on one of his kiln builds. I sent him a message and he said that didn’t fare well, either.
So now I need to construct something else that is going to function as well, but be more durable.
Kiln lid options
The best way forward (for a flat lid) would probably be to build one out of insulating bricks. Think of a small wall laying on its side. One can bunch them together by drilling holes through them and inserting threaded steel rod to lock them together with nuts. Or one can compress them into a stable block with framing of steel around the sides (see an example by Iain Shields).
This would be strong and insulating and, if looked after, would last a long time. It would be heavy, so one would likely need two sections to be able to lift them off (or a roof pulley system, which some people do have). Or helpful friends at every firing…
However, I am thinking of moving house and relocating to another country soon, and I don’t really want to spend more money on a kiln I might not be able to take with me. Insulating bricks are not cheap.
Another well-insulating and affordable flat lid option would be to build a steel mesh frame and use high-temperature wire and clay buttons to attach a few layers of ceramic fibre blanket beneath.
I have done this several times in the past and it works really well for a while. But as the fibre ages and changes in the heat it becomes fragile and can sag and shed fibres on your pots in the firing. I do paint all fibre kiln parts in a rigidiser liquid, which probably helps stop shedding. But I always end up hating the fibre blanket lids.
My preferred solution for my current situation is to use kiln shelves to make a solid, strong lid, over which I will layer fibre blanket for insulation. As it happens, I have two spare 1.5cm-thick shelves that are 50cm wide and have enough length combined to cover the kiln chamber. With care, these should last a long time and they don’t have the issue of allowing debris to float downwards.
The vulnerability of shelf lids is that thermal expansion means they can crack if the edges are much colder than the middles. One must to insulate the edges carefully and leave no part exposed to cold air.
[I must warn of the health risks of fibre blanket here: use a mask when building with or handling ceramic fibre as you don’t want that stuff in your lungs. It isn’t as bad asbestos, but it probably isn’t healthy at all.]
Starting the build
So, getting into it! It’s actually very simple.
My kiln chamber is 50cm wide. My shelves are 50cm wide. You can probably see the issue: If I drop my shelves on top, they will fall into the chamber.
To deal with this I corbelled (offset) the top layer of bricks inwards 2cm all round the chamber top to support the shelves.
I had to cut one of the shelf pieces for the lid to make both sections fit the chamber with space at the ends to add insulation all round the edges – important to stop the shelves cracking.
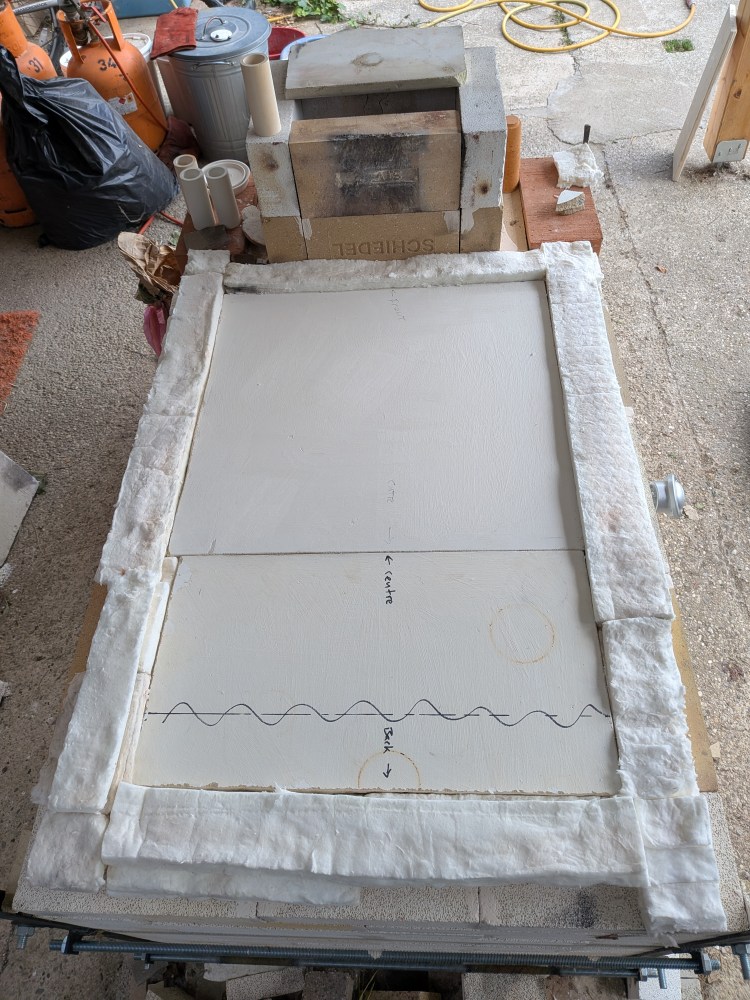
An angle grinder with a ceramic cutting disc works well for cutting shelves. They are much easier to cut before they have been fired, and are tougher and more brittle afterwards.
I recommend supporting the shelf on both sides of the cut if you will use both pieces. They end to crack and fall unexpectedly if not supported. Work along a marked line, gradually increasing depth of cut till it pops free. Afterwards, I tidy the rough edges with the grinder.
Preparing the lid for firing
To ensure the heat of the kiln reaches easily to the lid edges, I placed small offcuts of 1cm shelf from previous projects as ‘stilts’ beneath the shelves. This was to allow heat to flow to the extremities of the shelves and minimise cracking risk.
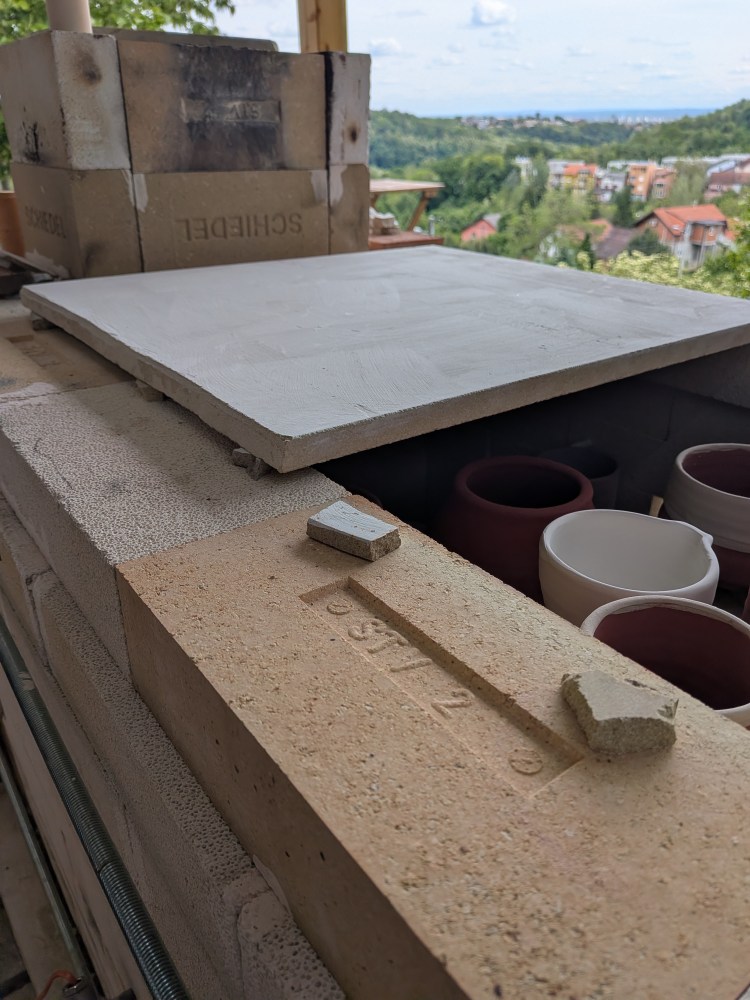
Once the lid sections were in place, I laid two layers of narrow strips of fibre blanket all around the shelf edges on the kiln bricks, making sure there are no gaps (see image in previous section).
Finally, I place bigger layers of fibre blanket over the whole top, plus the larger remainder pieces of fibre board as extra depth (use what you have, basically, but get a good thick layer for the best insulation). Shelves have very little insulating power so one does need plenty of fibre. You want at minimum 5cm/2ins of fibre insulation to minimise heat loss. More is better.
And that’s it. The lid is done. It is fairly simple to lay each time once you have the shelves cut to fit. For me, using components I have sitting around it is effectively a ‘free’ option.
I was moderately confident the shelf lid would work fine. It is a system that is often used for small flat-top wood kilns (‘backyard’ or ‘philosopher’s’ kilns).
NOTE: I realised after the first firing of the new lid that having the little stilts under the shelves makes a gap that can allow bits of dust and fibre to drop onto the pots. For the next firing I will not use the stilts. If you do, make sure to clean the brick wall of crud before loading, and take care not to drop fibre in when laying the insulation.
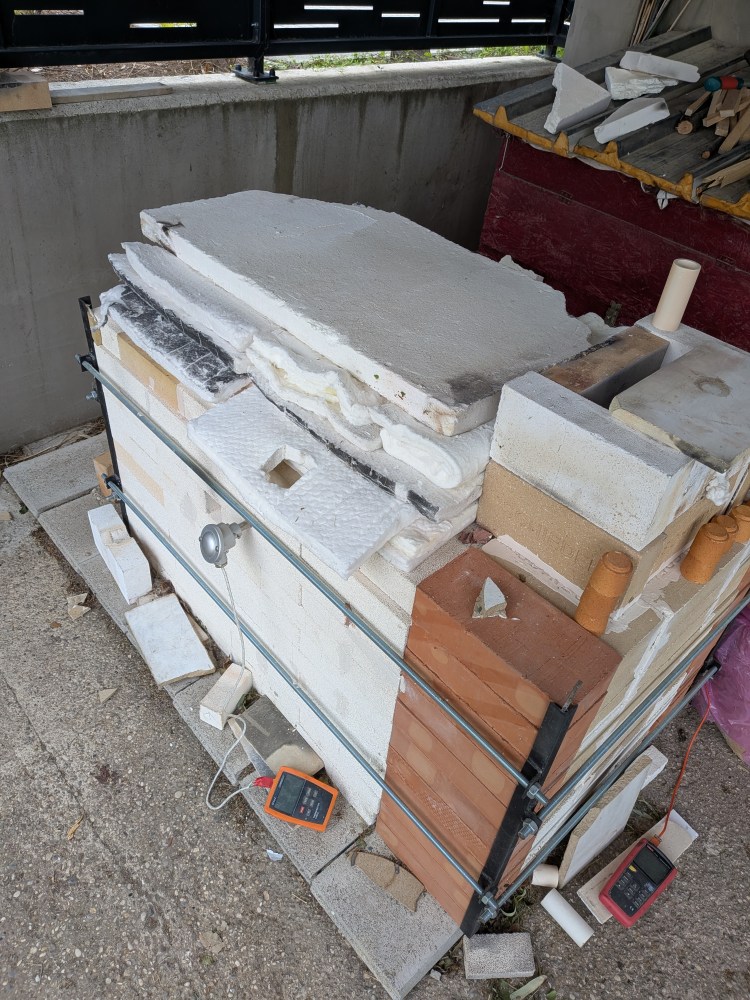
See the blog post for my original kiln build and the changes I made along the way.


One thought on “Building a New Lid for My Small Gas Kiln”